| Assets | ||
| Packages | ||
| ProjectSettings | ||
| .gitattributes | ||
| .gitignore | ||
| license.txt | ||
| Readme.md | ||
VRChat Avatar Project Template
This repo makes it easy to start a new VRChat Avatar project!
I Wanna Go Fast
If you don't care about using source control and just want to make something quick:
- Download this Zip and unpack it somewhere.
- Go to "3. Open the Project" below.
I Want To Use Source Control
This template is set up to easily make your own GitHub projects, and we highly recommend you take this route.
1. Make Your Own GitHub Project
Press  to start a new GitHub project, and follow the directions there. This is an optional step but gets you started with using GitHub for source control so you'll always have a backup.
2. Clone or Download the Project
If you're not ready to use git yet, you can download a zip of your project by pressing the "Code" button and then "Download Zip".
If you're familiar with git, use your favorite client or the command line to clone your repository.
3. Open the Project
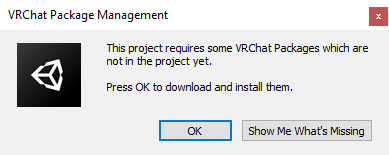
Use Unity 2022.3.6f1 to open the project. Press "OK" on the dialog that offers to download the required VRChat packages.
4. Load the Example Avatar
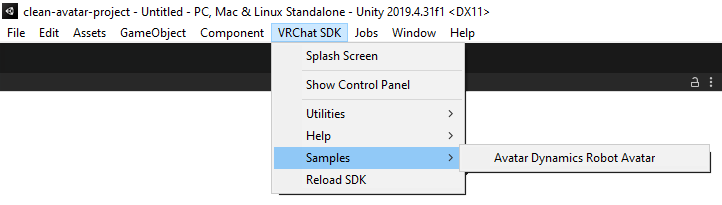
Find the "VRChat SDK" item in the menu bar at the top of the Unity Editor window, press it to open, then choose "Samples > Avatar Dynamics Robot Avatar".
Once the scene opens, choose "File > Save As..." and give the scene a new name.
Then modify the avatar however you'd like - you can read all about our Avatars 3.0 System here.
5. Test Your Avatar
When you're ready to try out your Avatar, find and choose the menu item "VRChat SDK > Show Control Panel".
-
Sign into your VRChat Account in the "Authentication" tab.
-
Switch to the "Builder" tab and choose "Build & Test".
-
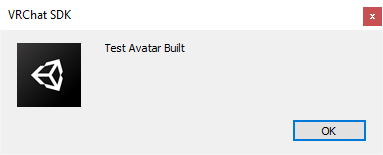
After a quick build process, you should see a popup with the message "Test Avatar Built".
-
Launch VRChat, open your Avatars menu (click on "Avatars" in your Quick Menu) and look in the "Other" section. Your test avatar will have a temporary name based on the name of the GameObject with the VRC Avatar Descriptor on it. The default name will be "SDK: Tutorial_Robot_Avatar_Dynamics_Demo_v1".
-
Select your Test Avatar and press "Test This Avatar" on the left-hand side of your menu.
You should now be testing your custom avatar!
6. Publish Your Avatar
When you're ready to publish your Avatar so you can use it regularly:
- Return to the VRChat SDK Control Panel in your Unity Project
- Switch to the "Builder" tab and press "Build and Publish for Windows".
- This will build your Avatar and add some publishing options to your Game window.
- Fill out the required fields "Avatar Name", "Description", "Sharing", and check the terms box "the above information is accurate...".
- Press "Upload".
Return to VRChat - your Avatar should now show up under "My Creations" at the top of the Avatar listing. Choose it and enjoy!